


Troubleshooting
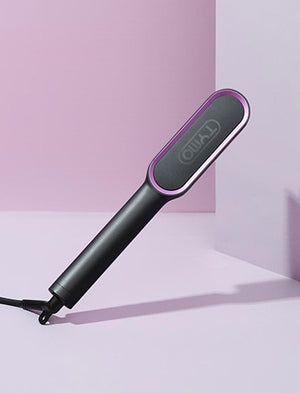
TYMO STYLEPRO 2-in-1 Thermal Brush Tutorial
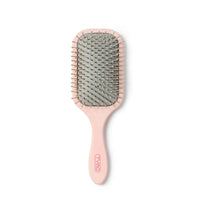
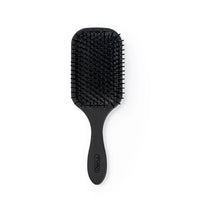
Achieve professional-quality straightening, smoothing, and curling results with the TYMO STYLEPRO 2-in-1 Thermal Brush, leveraging 800M negative ion technology to reduce frizz and enhance hair shine.
1. Preparation
• Hair Care: Wash your hair thoroughly and ensure it is completely dry. Gently comb through to remove any tangles, which helps in achieving even styling results.
• Safety Precaution: Drape a towel over your shoulders to safeguard your skin from potential burns caused by accidental contact with the heated brush during use.
2. Operation
2.1 Power On
Plug the device into a power outlet. Long-press the power button for 1.5 seconds to turn it on. The default temperature setting is 160°C/320°F, and the real-time temperature display will activate, allowing you to monitor the heating process.
2.2 Temperature Adjustment
Tap the power button to cycle through 5 different temperature levels:
• Level 1: 120°C/250°F
• Level 2: 140°C/280°F
• Level 3: 160°C/320°F
• Level 4: 180°C/360°F
• Level 5: 200°C/395°F
As the brush heats up, the temperature will rise dynamically on the display. Once the set temperature is reached, an audible beep will sound, indicating that the brush is ready for use.
2.3 Shut Down
To turn off the brush, long-press the power button for 1.5 seconds. Wait until the temperature drops below 50°C/122°F before storing it. Note that the TYMO STYLEPRO features a pure thermal design and does not have a cooling fan function.
3. Temperature Guide
|
Level |
Temperature |
Suitable Hair Types |
|
1 |
120°C/250°F |
Children's hair, severely damaged hair, or bleached hair. Lower temperature minimizes further damage. |
|
2 |
140°C/280°F |
Fine, thin, or easily breakable hair. Gentle heat helps style without causing breakage. |
|
3 |
160°C/320°F |
Dyed or light - colored hair. This temperature sets the color and styles hair effectively. |
|
4 |
180°C/360°F |
Normal or slightly wavy hair. Ideal for achieving smooth and straight looks or defined curls. |
|
5 |
200°C/395°F |
Thick, curly, or coarse hair. Higher heat penetrates thick hair layers for efficient styling. |
4. Styling
4.1 Straightening & Smoothing
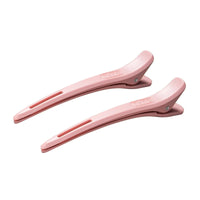
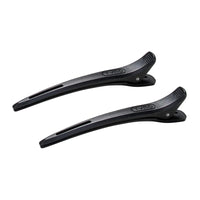
• Sectioning: Divide your hair into 1 - inch (2.5cm) layers. Using hair clips can help manage each section more easily.
• Application: Insert the brush teeth 5cm from the roots, then wrap the hair around the barrel. Slowly glide the brush downward towards the hair ends, taking about 5 seconds for each section. Holding the cool - tip handle provides better control and prevents hand burns. Keeping the hair close to the barrel maximizes the benefits of the 800M negative ions, which work to tame frizz and boost hair shine.
4.2 Curling
• Sectioning: Select a 1 - inch section of hair starting from the mid - shaft.
• Wrapping & Rotating: Wrap the hair around the brush and rotate it 180° - 360°, depending on the direction and tightness of the curl you desire.
• Holding & Setting: Hold the brush in place for 8 - 10 seconds to allow the hair to take the curl shape. Gently slide the brush out, then cup the curl with your hand for 3 seconds to cool and set it. For finer hair, spritzing a holding spray can help the curls last longer. If you prefer soft waves, run your fingers through the curls to loosen them up.
5. Tech Highlights
• Smart Display: The built - in smart display provides real - time temperature tracking in both °C and °F. An audible beep alerts you when the brush reaches the set temperature, ensuring precise styling.
• 800M Negative Ion Technology: This advanced technology reduces static electricity by up to 90% and seals the hair cuticles. As a result, your hair looks smoother, shinier, and more manageable.
6. Safety
• Avoid Contact: Do not touch the ceramic plates during use or within 10 minutes after use, as they can remain hot and cause burns.
• Storage: Store the brush in a dry place, out of reach of children, after it has fully cooled down.
• Cleaning: Clean any styling product residue or hair debris monthly using a damp cloth. Make sure to unplug the device before cleaning.
• Adapter Requirement: US plug users may need to use an adapter when plugging into international outlets to ensure proper functionality and safety.


