


TYMO
BEAUTY

How to Use a Hair Diffuser for Curly & Wavy Hair

September 2026

By Augie Bennett

Updated 12 AM EST Sep 8, 2026

To use a hair diffuser, start with damp, styled hair, choose controlled airflow, and dry the roots first by hovering the diffuser near your hair. Then gently cup sections into the diffuser until your curls or waves are dry and set.

If you usually blow dry curly hair, using a diffuser gives you more control over the airflow so you can dry your hair without constantly blowing the natural pattern around.

The main rule is simple: let the diffuser dry your texture without disturbing it more than necessary.

What Does a Hair Diffuser Do?

A hair diffuser is an attachment that fits onto a hair dryer and spreads the airflow across a wider area.

Instead of directing one concentrated stream of air at the hair, a diffuser helps dry curls and waves with less movement. That can make it easier to preserve curl clumps, definition and natural texture while your hair dries.

A diffuser can be especially useful when you want to:

  • enhance natural curls or waves
  • reduce how much the hair moves while drying
  • create more lift at the roots
  • preserve curl definition
  • avoid blowing the pattern apart

A diffuser does not create a curl pattern that is not already there. Think of it as a way to dry and encourage the texture your hair naturally has.

TYMO hair dryer with a diffuser attachment showing the bowl, prongs, and airflow dispersion for curly hair.

How to Use a Diffuser Step by Step

You do not need a complicated routine. The biggest things to control are how wet your hair is, how much airflow you use, and how much you move the hair while it dries.

1. Start With Damp Hair

After washing, gently remove excess water with a microfiber towel or soft T-shirt.

Your hair should still be damp, but it does not need to be dripping wet.

Avoid rubbing your hair roughly with a towel. Too much friction can separate curl clumps and create frizz before you even start drying.

2. Apply Your Styling Products

Apply your usual leave-in conditioner, curl cream, mousse or gel while your hair is still damp.

If heat protection is part of your routine, this is also a natural time to apply a heat protectant according to the product directions.

Arrange your curls or waves before you begin diffusing. Once you start drying, try to leave that pattern alone as much as possible.

3. Attach the Diffuser

Secure the diffuser onto your dryer before switching it on.

Start with controlled airflow rather than automatically choosing the highest setting. You can increase the heat or airflow later if your hair needs it.

4. Hover-Diffuse the Roots First

Hold the diffuser close to your roots without pushing your curls into the bowl.

Move slowly around the scalp, giving each area time to begin drying.

This is called hover diffusing. It lets the roots start drying while keeping contact with the hair to a minimum.

5. Cup the Lengths Into the Diffuser

Once the roots and outer curl pattern have started to set, place a small section of hair into the diffuser bowl.

Gently lift the diffuser toward your scalp and hold it still for several seconds.

Lower it before moving to another section.

Avoid repeatedly bouncing the diffuser up and down. The less you disturb the curl while it is setting, the better.

6. Let Your Hair Finish Setting

Continue until your hair is dry or mostly dry.

If you stop while a little moisture remains, let the rest air-dry without separating or fluffing the curls.

Wait until your hair is fully dry and cool before breaking up curl clumps or adding final volume.

Hover Diffusing vs Cupping vs Pixie Diffusing

You may see several diffuser techniques online. You do not need to choose only one.

Most routines use a combination.

TechniqueWhat You DoBest Used For
Hover diffusingHold the diffuser near the hair without placing curls insideRoots, early drying, minimal movement
CuppingPlace curls or waves into the diffuser bowl and gently liftDrying the lengths and encouraging definition
Pixie diffusingPlace a section into the diffuser before lifting it toward the scalp, with minimal movement while repositioningCurls that are easily disturbed

For most people, a simple hover first, then cup routine is enough.

Pixie diffusing is useful when you want to minimize movement even further, but it does not have to make the routine more complicated.

TYMO hair dryer showing hover diffusing and cupping techniques for styling and defining curly hair.

How to Diffuse Curly Hair vs Wavy Hair

Curly and wavy hair can use the same diffuser, but the styling goal is usually slightly different.

Curly HairWavy Hair
Main goalPreserve curl clumps and definitionEncourage the natural wave pattern
AirflowStart low to mediumStart low
HeatLow to mediumLow to medium
Root techniqueHover firstHover first
CuppingUseful for setting curlsUse gently on smaller sections
HandlingKeep movement minimalAvoid excessive scrunching while drying

How to Diffuse Curly Hair

Let your curl clumps form before drying.

Start by hovering around the roots, then gently cup sections into the diffuser. Hold each section still rather than continuously moving the dryer.

If you want more root volume, you can change the angle of your head as you move around the scalp. Just avoid shaking the curls around before they have set.

If you are still choosing your dryer, our guide to the best dryer for curly hair covers what to look for beyond the diffuser itself.

How to Diffuse Wavy Hair

With wavy hair, more movement does not always create more texture.

Start gently at the roots, then cup smaller sections to encourage your natural wave pattern.

If your waves fall flat easily, avoid repeatedly scrunching the same section while it dries. Give the pattern time to set first.

What Heat and Airflow Setting Should You Use?

There is no single diffuser setting that works for everyone.

A better rule is to start with controlled airflow and increase only when you need to.

Hair SituationUseful Starting Point
Fine or easily disturbed textureLower heat + lower airflow
Wavy hairLow to medium heat + lower airflow
Thick or dense curlsMedium heat + low to medium airflow
Hair that frizzes easilyLower airflow + minimal movement
Roots taking too long to dryIncrease heat gradually before dramatically increasing airflow

The goal is not to use the lowest setting at all costs. You want enough heat and airflow to dry efficiently without constantly blowing the curl pattern around.

Dryer technology can also affect how a tool approaches drying. If you want to understand that side of it, our guide to ionic hair dryers explains how ionic technology works and where it may fit into a drying routine.

TYMO hair dryer heat and airflow guide showing recommended settings for fine, wavy, and curly hair types.

How to Diffuse Hair With Less Frizz

If your curls look defined when wet but turn fluffy during drying, look at the whole routine rather than assuming the diffuser itself is the problem.

Use less airflow

Strong airflow can separate curl clumps before they have time to set.

Touch your hair less

Once the pattern is arranged, resist the urge to keep reshaping it.

Let the diffuser do most of the work.

Hover before you cup

Giving the outer curl pattern time to begin drying before you start cupping can reduce unnecessary handling early in the process.

Hold each section still

Cup, hold, lower and move on.

You do not need to constantly bounce the dryer toward and away from your scalp.

Wait before separating curls

Do not fluff, shake out or separate your curls while they are still damp or warm.

Let them dry and cool first.

If the main problem is smaller hairs around the part or hairline rather than the overall curl pattern, see our guide to fixing flyaways.

TYMO hair dryer with diffuser showing before and after results for defined and less disrupted curls.

6 Common Diffuser Mistakes

Small changes in technique can make a noticeable difference.

Common MistakeTry This Instead
Starting at maximum airflowBegin lower and increase only when needed
Diffusing dripping-wet hairRemove excess water first
Constantly moving the hairHold each section still for several seconds
Cupping immediatelyHover-diffuse first
Stuffing too much hair into the bowlWork in manageable sections
Fluffing curls before they are dryWait until the hair is fully dry and cool

One of the biggest lessons with diffusing is surprisingly simple:

More movement is not always better.

TYMO hair dryer with diffuser guide highlighting three common styling mistakes to avoid for curly hair

Diffusing With TYMO AIRHYPE

If diffusing is part of your regular routine, having control over heat, airflow and the placement of the diffuser makes the process easier.
⏰️Deal Ends in 
Buses à haute vitesse 3
$160.00 $199.99
Code: LUCKY20
Copy
  • United States 12 septembre
  • Alabama 12 septembre
  • Arizona 12 septembre
  • Arkansas 14 septembre
  • California 12 septembre
  • Colorado 14 septembre
  • Connecticut 13 septembre
  • Delaware 13 septembre
  • Florida 13 septembre
  • Georgia 13 septembre
  • Idaho 13 septembre
  • Illinois 14 septembre
  • Indiana 12 septembre
  • Iowa 14 septembre
  • Kansas 14 septembre
  • Kentucky 13 septembre
  • Louisiana 14 septembre
  • Maine 13 septembre
  • Maryland 13 septembre
  • Massachusetts 13 septembre
  • Michigan 13 septembre
  • Minnesota 14 septembre
  • Mississippi 13 septembre
  • Missouri 14 septembre
  • Montana 13 septembre
  • Nebraska 14 septembre
  • Nevada 13 septembre
  • New Hampshire 13 septembre
  • New Jersey 13 septembre
  • New Mexico 14 septembre
  • New York 13 septembre
  • North Carolina 13 septembre
  • North Dakota 14 septembre
  • Ohio 13 septembre
  • Oklahoma 14 septembre
  • Oregon 13 septembre
  • Pennsylvania 13 septembre
  • Rhode Island 13 septembre
  • South Carolina 13 septembre
  • South Dakota 14 septembre
  • Tennessee 13 septembre
  • Texas 14 septembre
  • Utah 13 septembre
  • Vermont 13 septembre
  • Virginia 13 septembre
  • Washington 13 septembre
  • West Virginia 12 septembre
  • Wisconsin 14 septembre
  • Wyoming 13 septembre
United States
Livraison estimée d’ici le 12 septembre
Note: Delivery time may vary by area, with slight delays in remote regions.
WHY YOU WILL LOVE IT
Cheveux frisottants Compatible avec les perruques Cheveux épais Extensions de cheveux Adapté aux Débutants Brushing effet salon Cheveux lisses Finition brillante
CE QUI LE REND UNIQUE
• Flux d'air de 200 millions d'ions
• Compact et aussi léger qu'une tasse de café
• Résultats lisses et brillants en quelques secondes
• Système de fonctionnement silencieux
• Capteur T-sensor intelligent pour un contrôle précis de la température
• Paramètres de contrôle intuitifs
• Écran LCD intelligent
• Alimentation US : 100-120 V
POURQUOI CHOISIR TYMO
PRODUCT COMPARISON

Best For: Diffusing curly and wavy
hair with controlled airflow

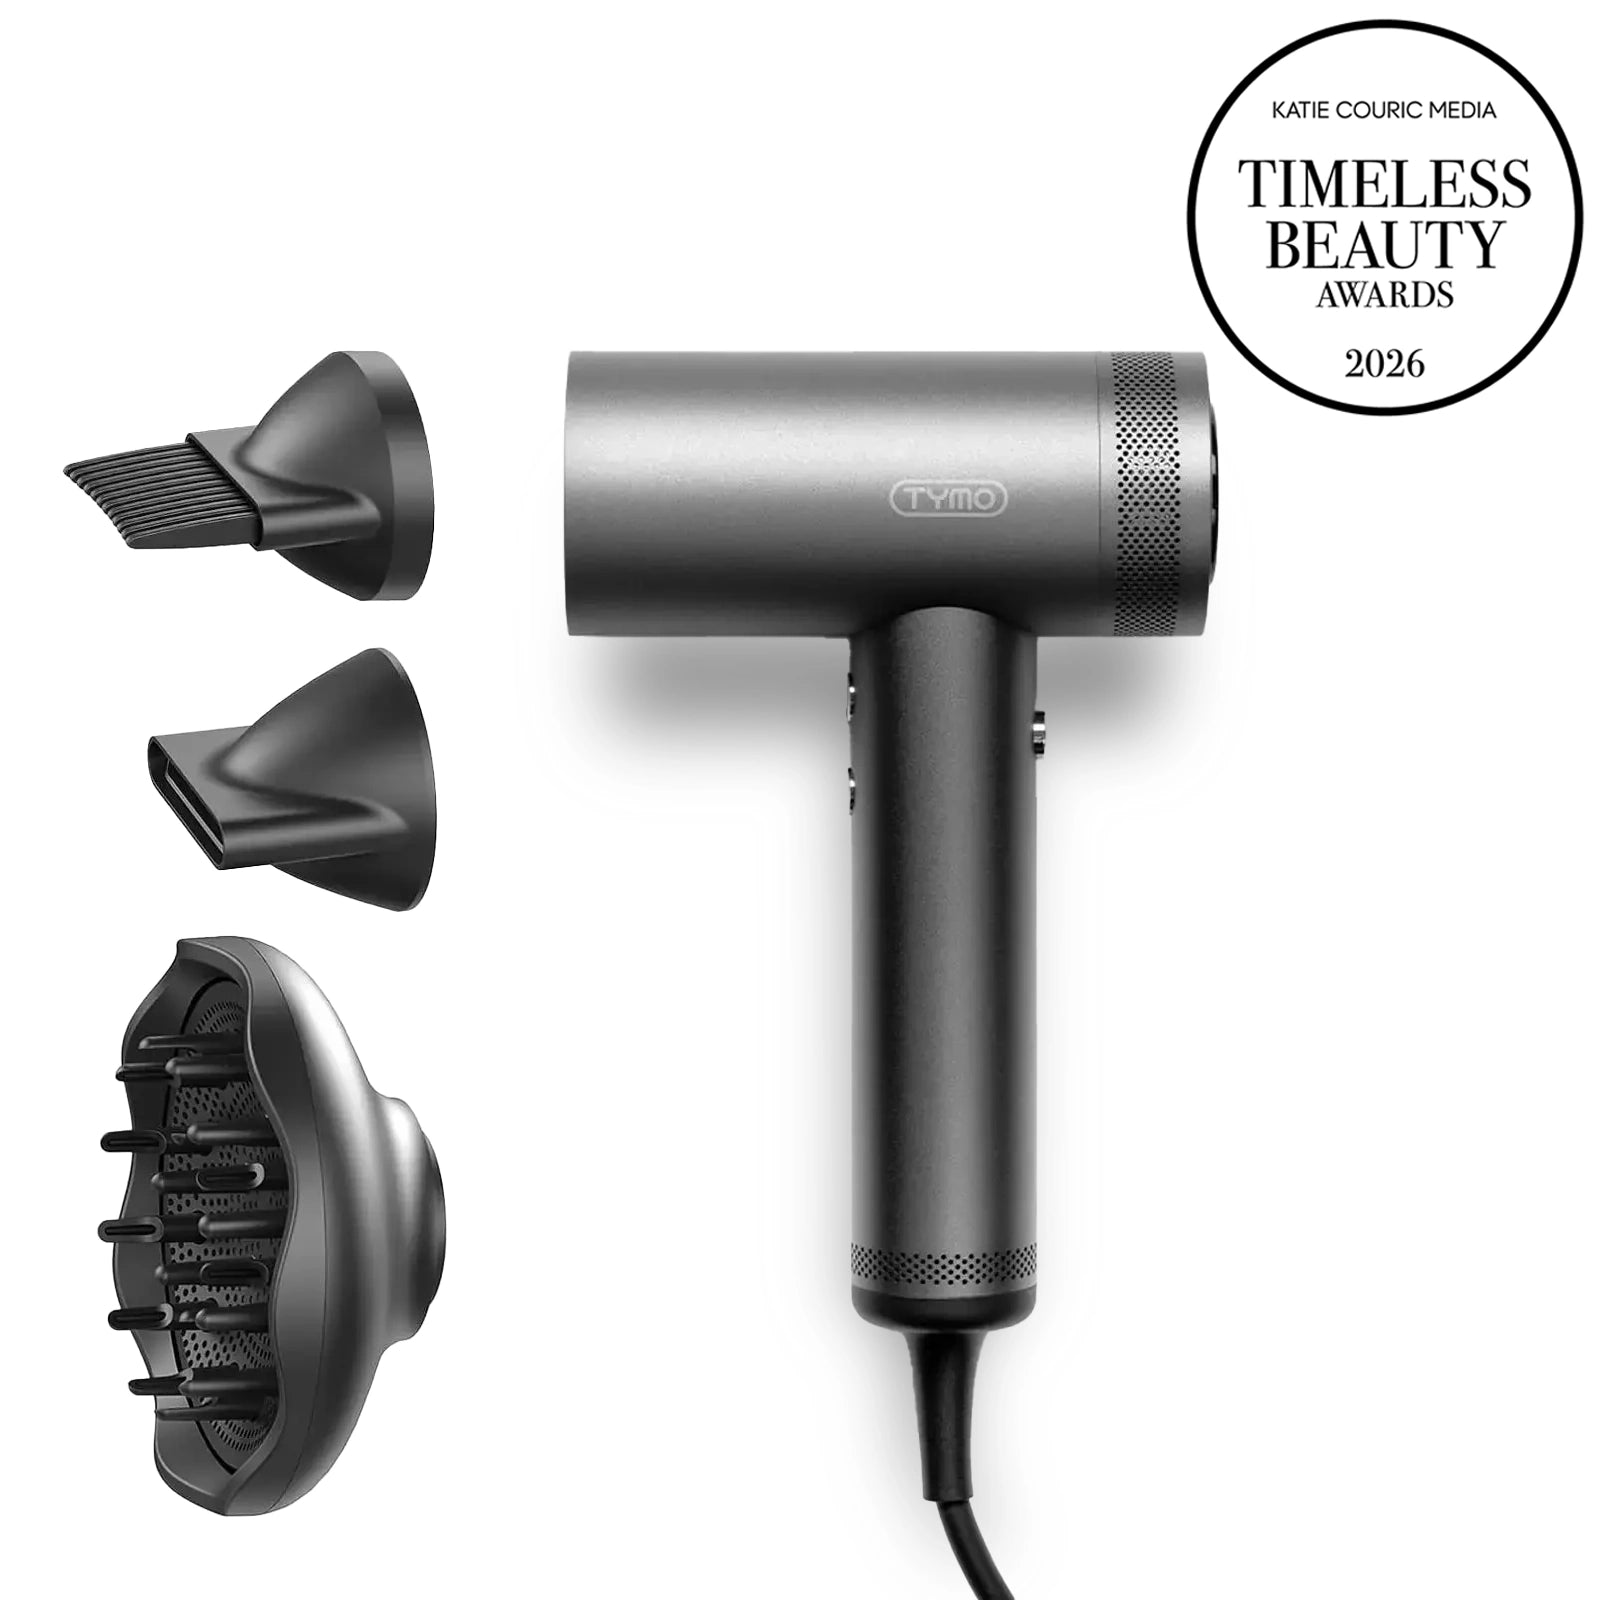
AIRHYPE includes an adjustable diffuser for curly-hair drying and gives you control over heat and airflow, making it easy to move between gentle root drying and drying through the lengths.

Shop AIRHYPE →

Explore Hair Dryers →

TYMO AIRHYPE hair dryer with a styling attachment showing controlled airflow and straight hair results.

The Bottom Line

A diffuser works best when you control the airflow and disturb the hair as little as possible.

Start with damp, styled hair. Hover-diffuse the roots, gently cup the lengths, use enough heat and airflow to dry efficiently, and give your curls or waves time to fully set before touching them.

You do not need a complicated routine. Good diffusing is mostly about knowing when to leave your hair alone.

Hair Diffuser FAQs

What does a diffuser do for curly hair?

A diffuser spreads the dryer airflow across a wider area so curly hair can dry with less direct movement. This can make it easier to preserve curl clumps and definition while drying.

Should you diffuse wet or damp hair?

Starting with damp rather than dripping-wet hair is usually more efficient. Gently remove excess water first, apply your styling products, then begin diffusing.

Can you use a diffuser on wavy hair?

Yes. A diffuser can help dry and encourage a natural wave pattern while limiting how much direct airflow moves the hair around.

What heat setting should I use with a diffuser?

Start with low to medium heat and controlled airflow, then adjust based on your hair density, texture and drying time. Hair that is easily disturbed may benefit from lower airflow.

How long should you diffuse your hair?

There is no universal drying time. Hair length, density, moisture level and dryer settings all affect how long it takes. Focus on how dry your hair is rather than following a fixed number of minutes.

Why does my hair get frizzy when I use a diffuser?

Common reasons include high airflow, rough towel drying, constantly moving the curls, handling the hair before it has set or separating the finished curls while they are still damp.

Is a diffuser only for curly hair?

No. Diffusers are most associated with curly hair, but they can also help dry and enhance naturally wavy hair.

Hair dryer with attachments
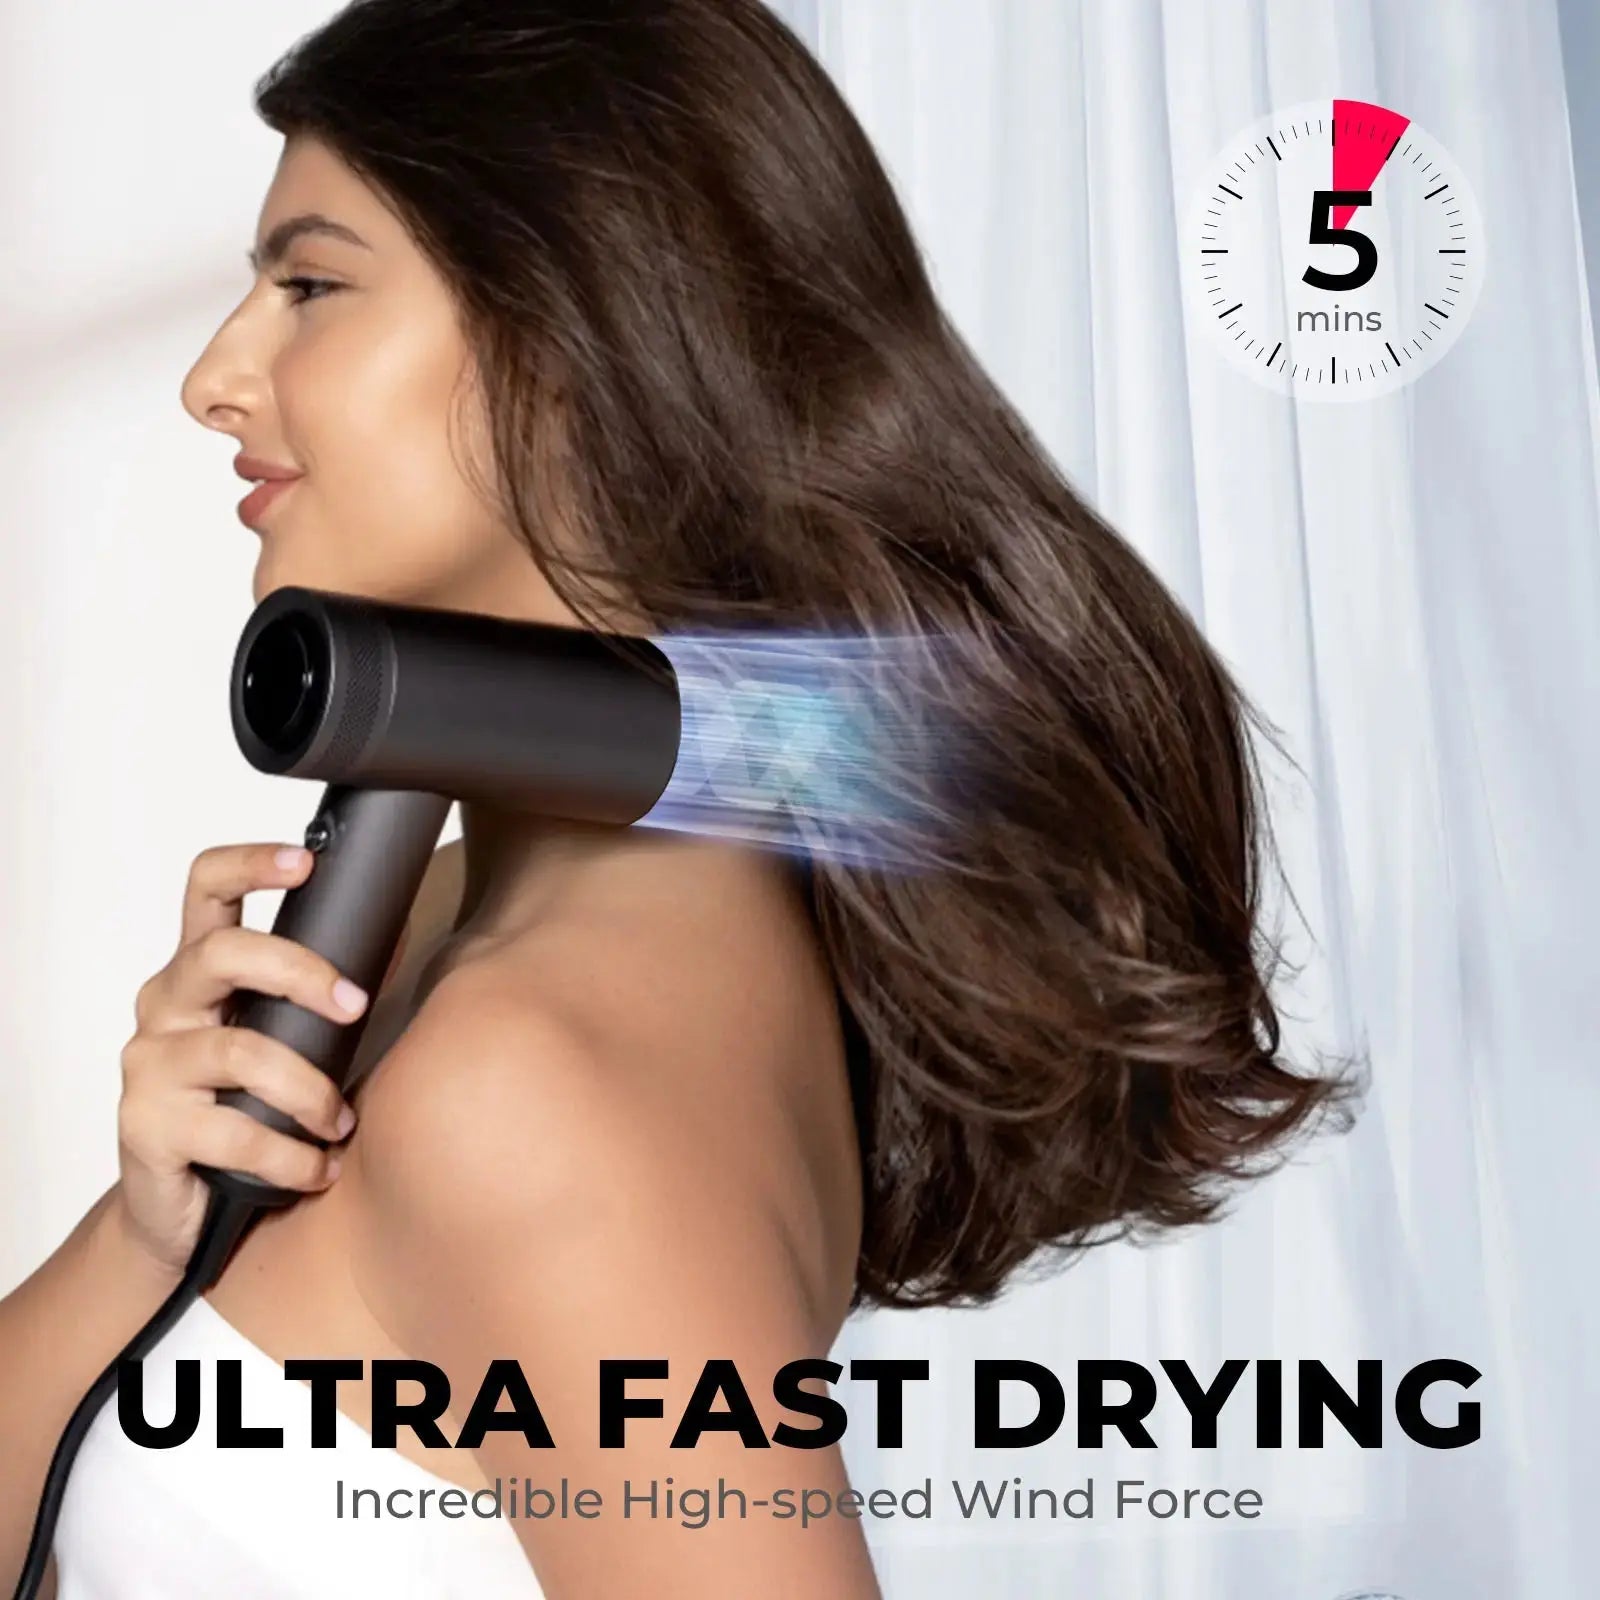
TYMO AIRHYPE hair dryer, a dyson alternative hair dryer for curly hair with diffuser attachment for salon-style results.
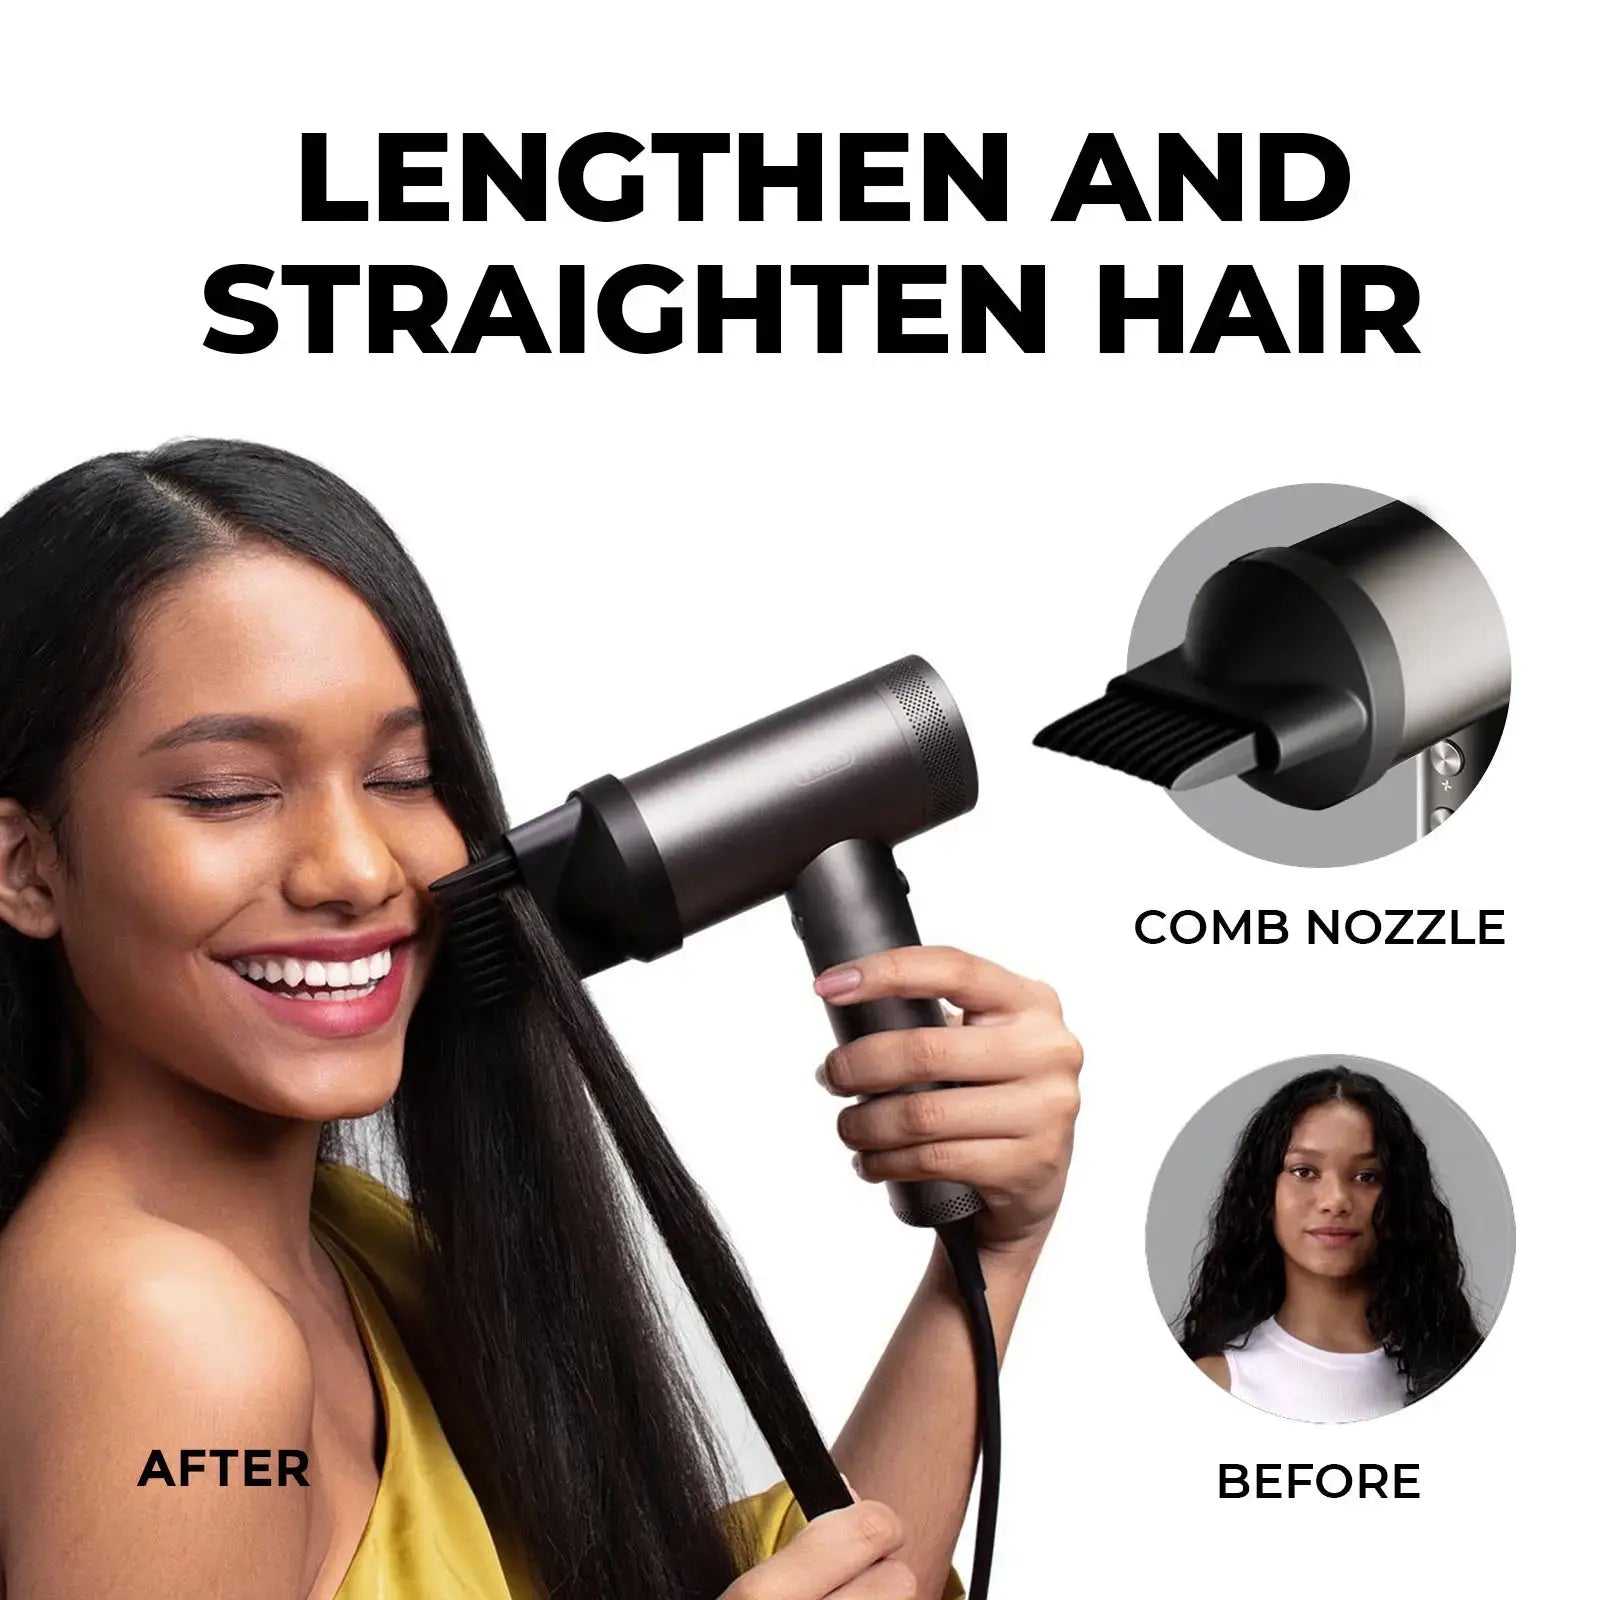
Woman using TYMO AIRHYPE, a dyson alternative hair dryer with comb nozzle for quick and smooth styling.
TYMO AIRHYPE ionic model, a dyson alternative hair dryer showing internal airflow and 110,000 RPM motor performance.
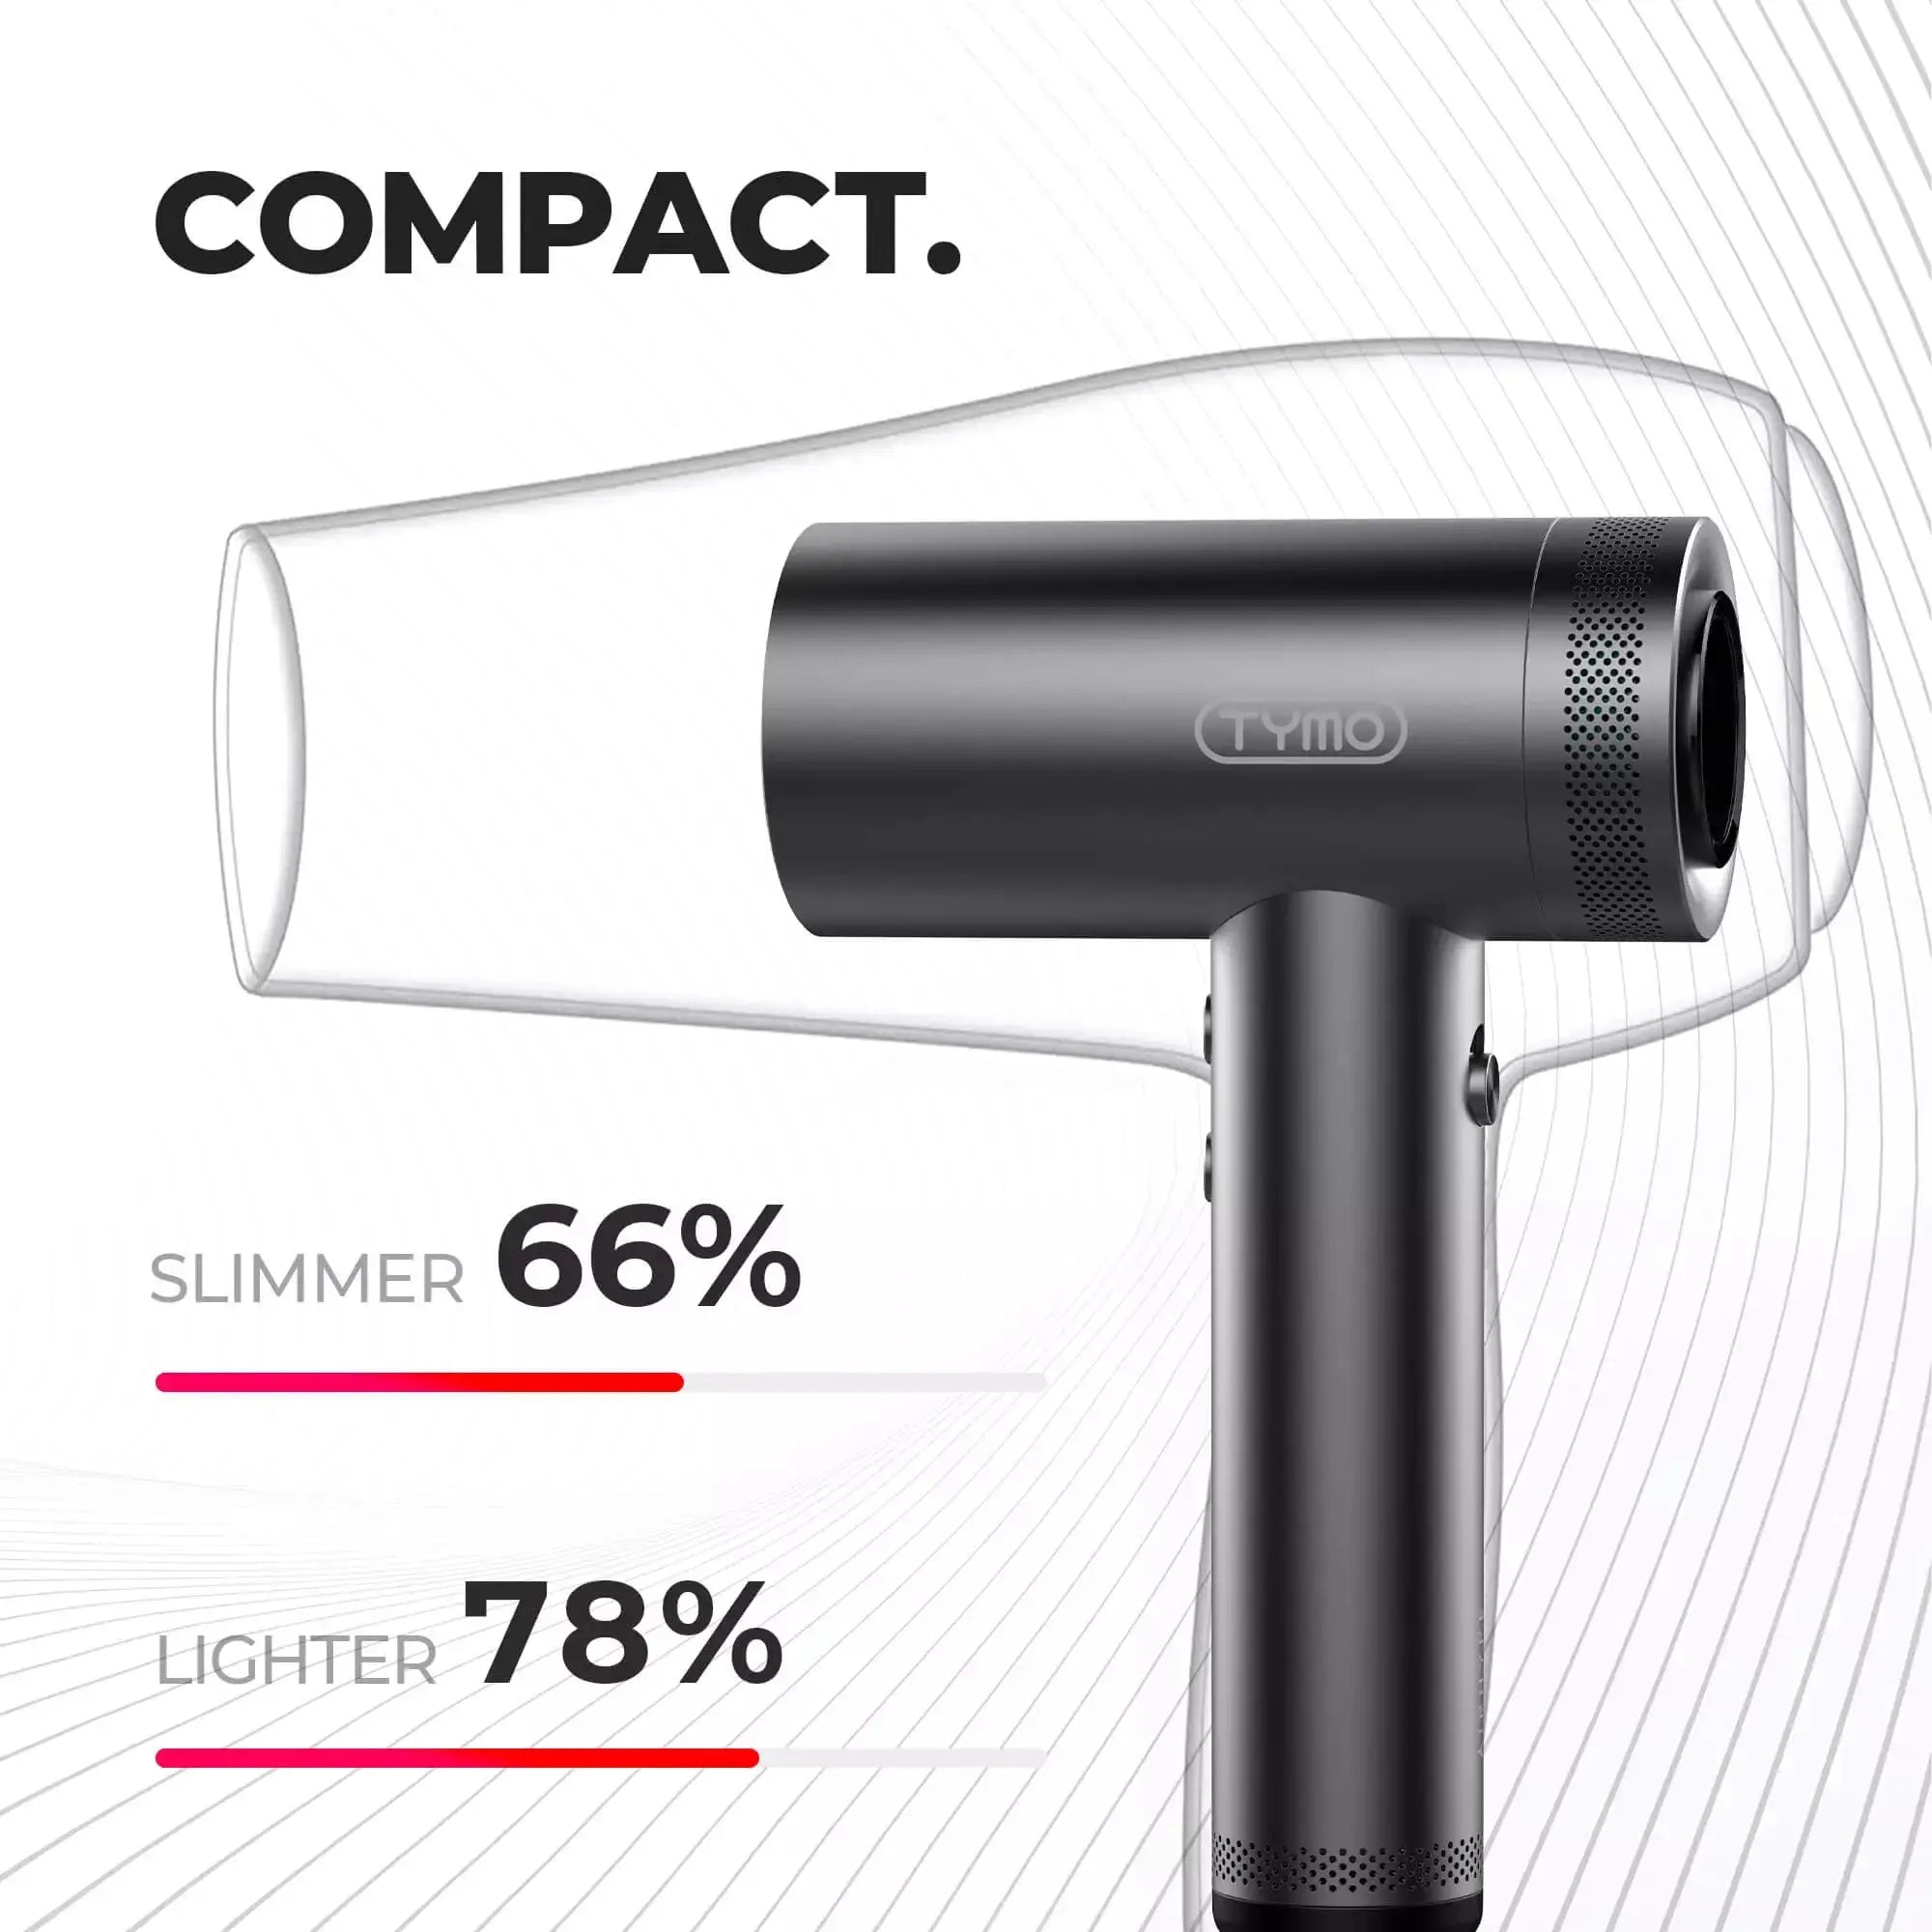
Compact TYMO AIRHYPE, a dyson alternative hair dryer that’s 66% slimmer and 78% lighter in design.
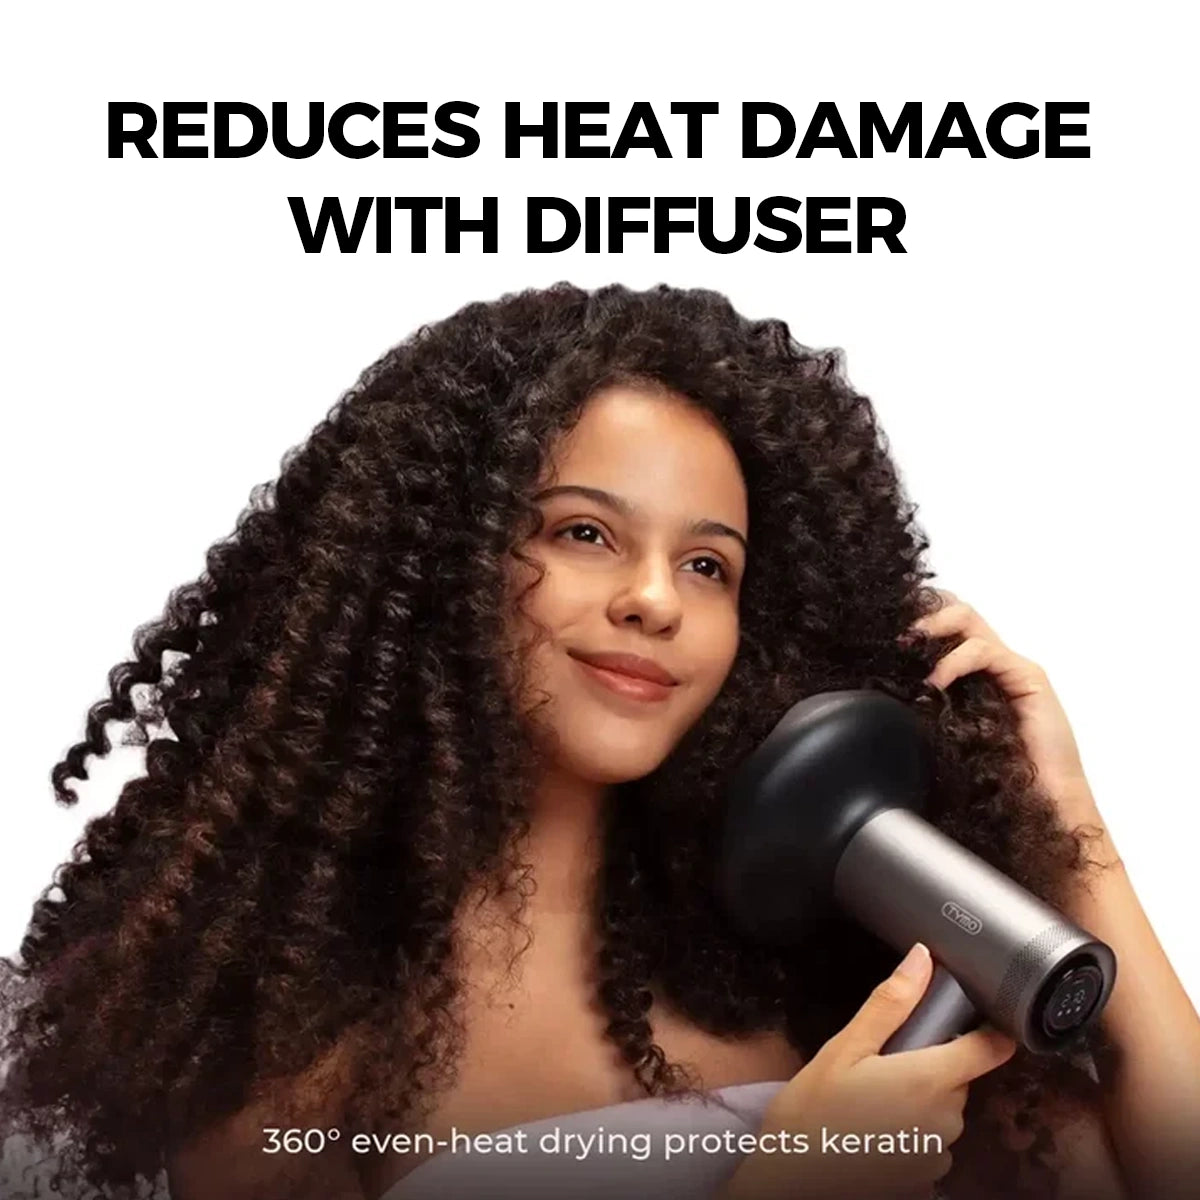
Woman using TYMO AIRHYPE diffuser, a dyson alternative hair dryer for gentle, no-heat-damage curly styling.
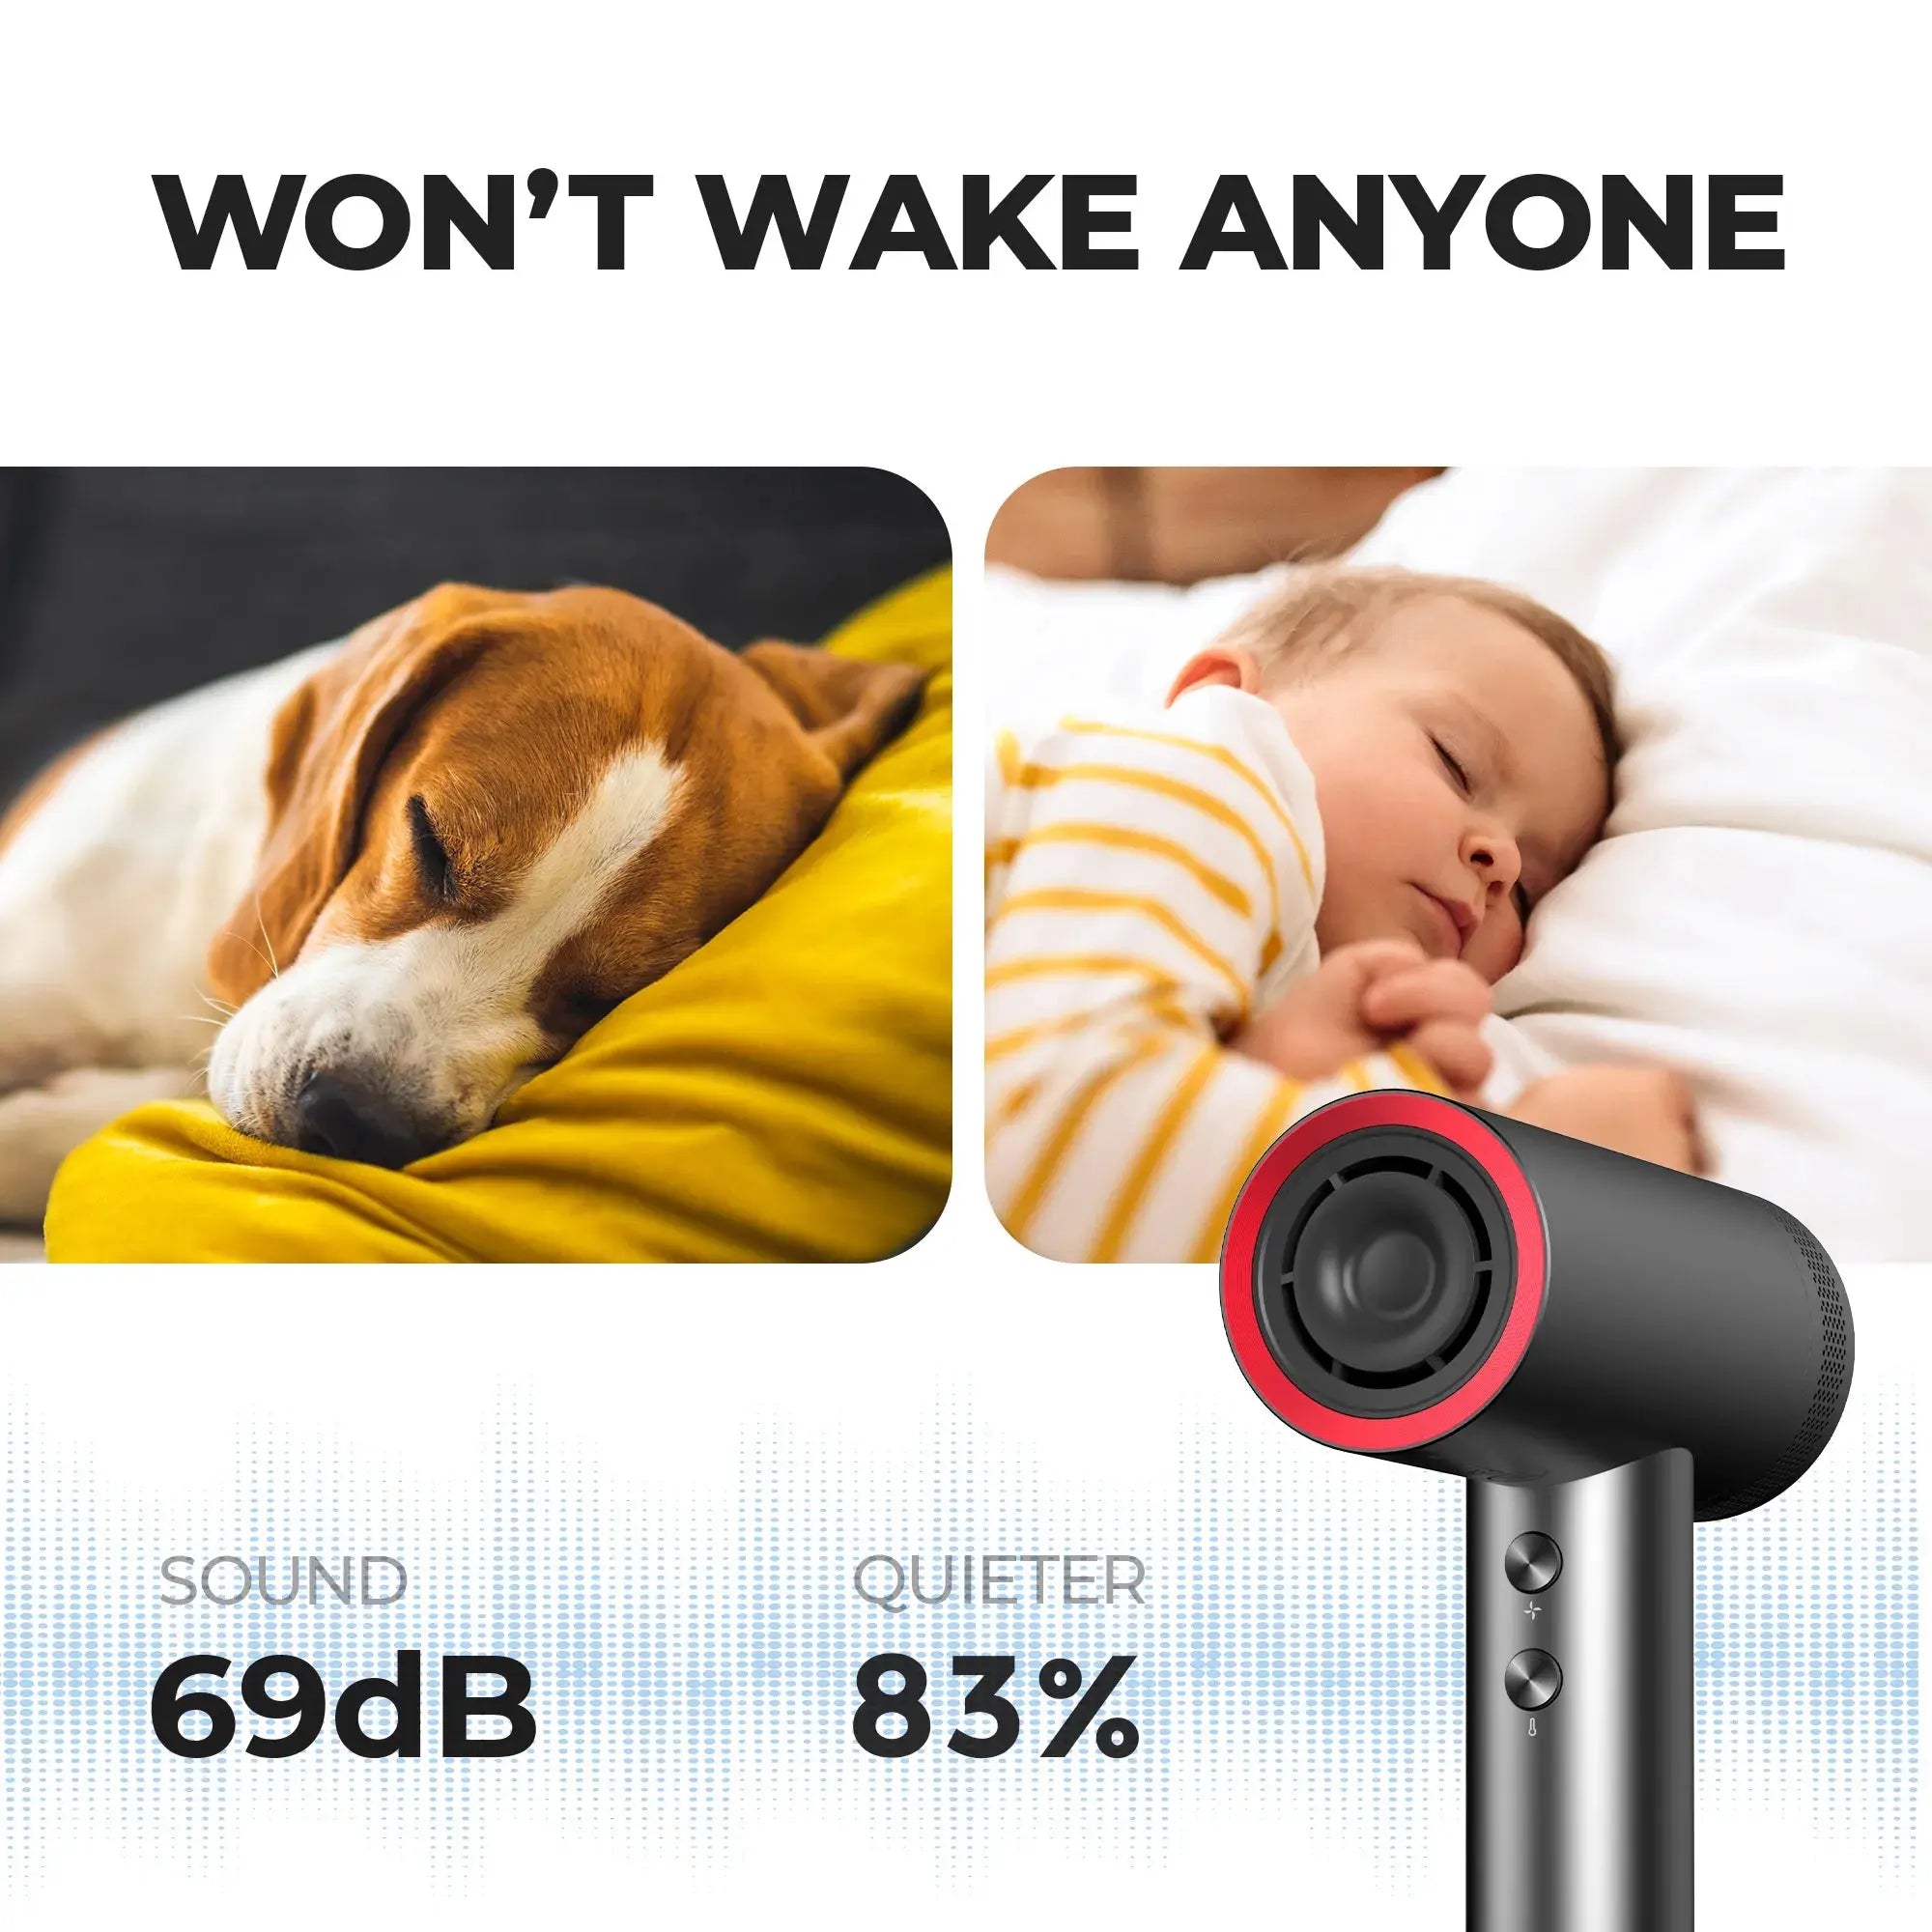
TYMO AIRHYPE quiet hair dryer, a dyson alternative hair dryer producing low 69dB noise for gentle, sleep-friendly drying.
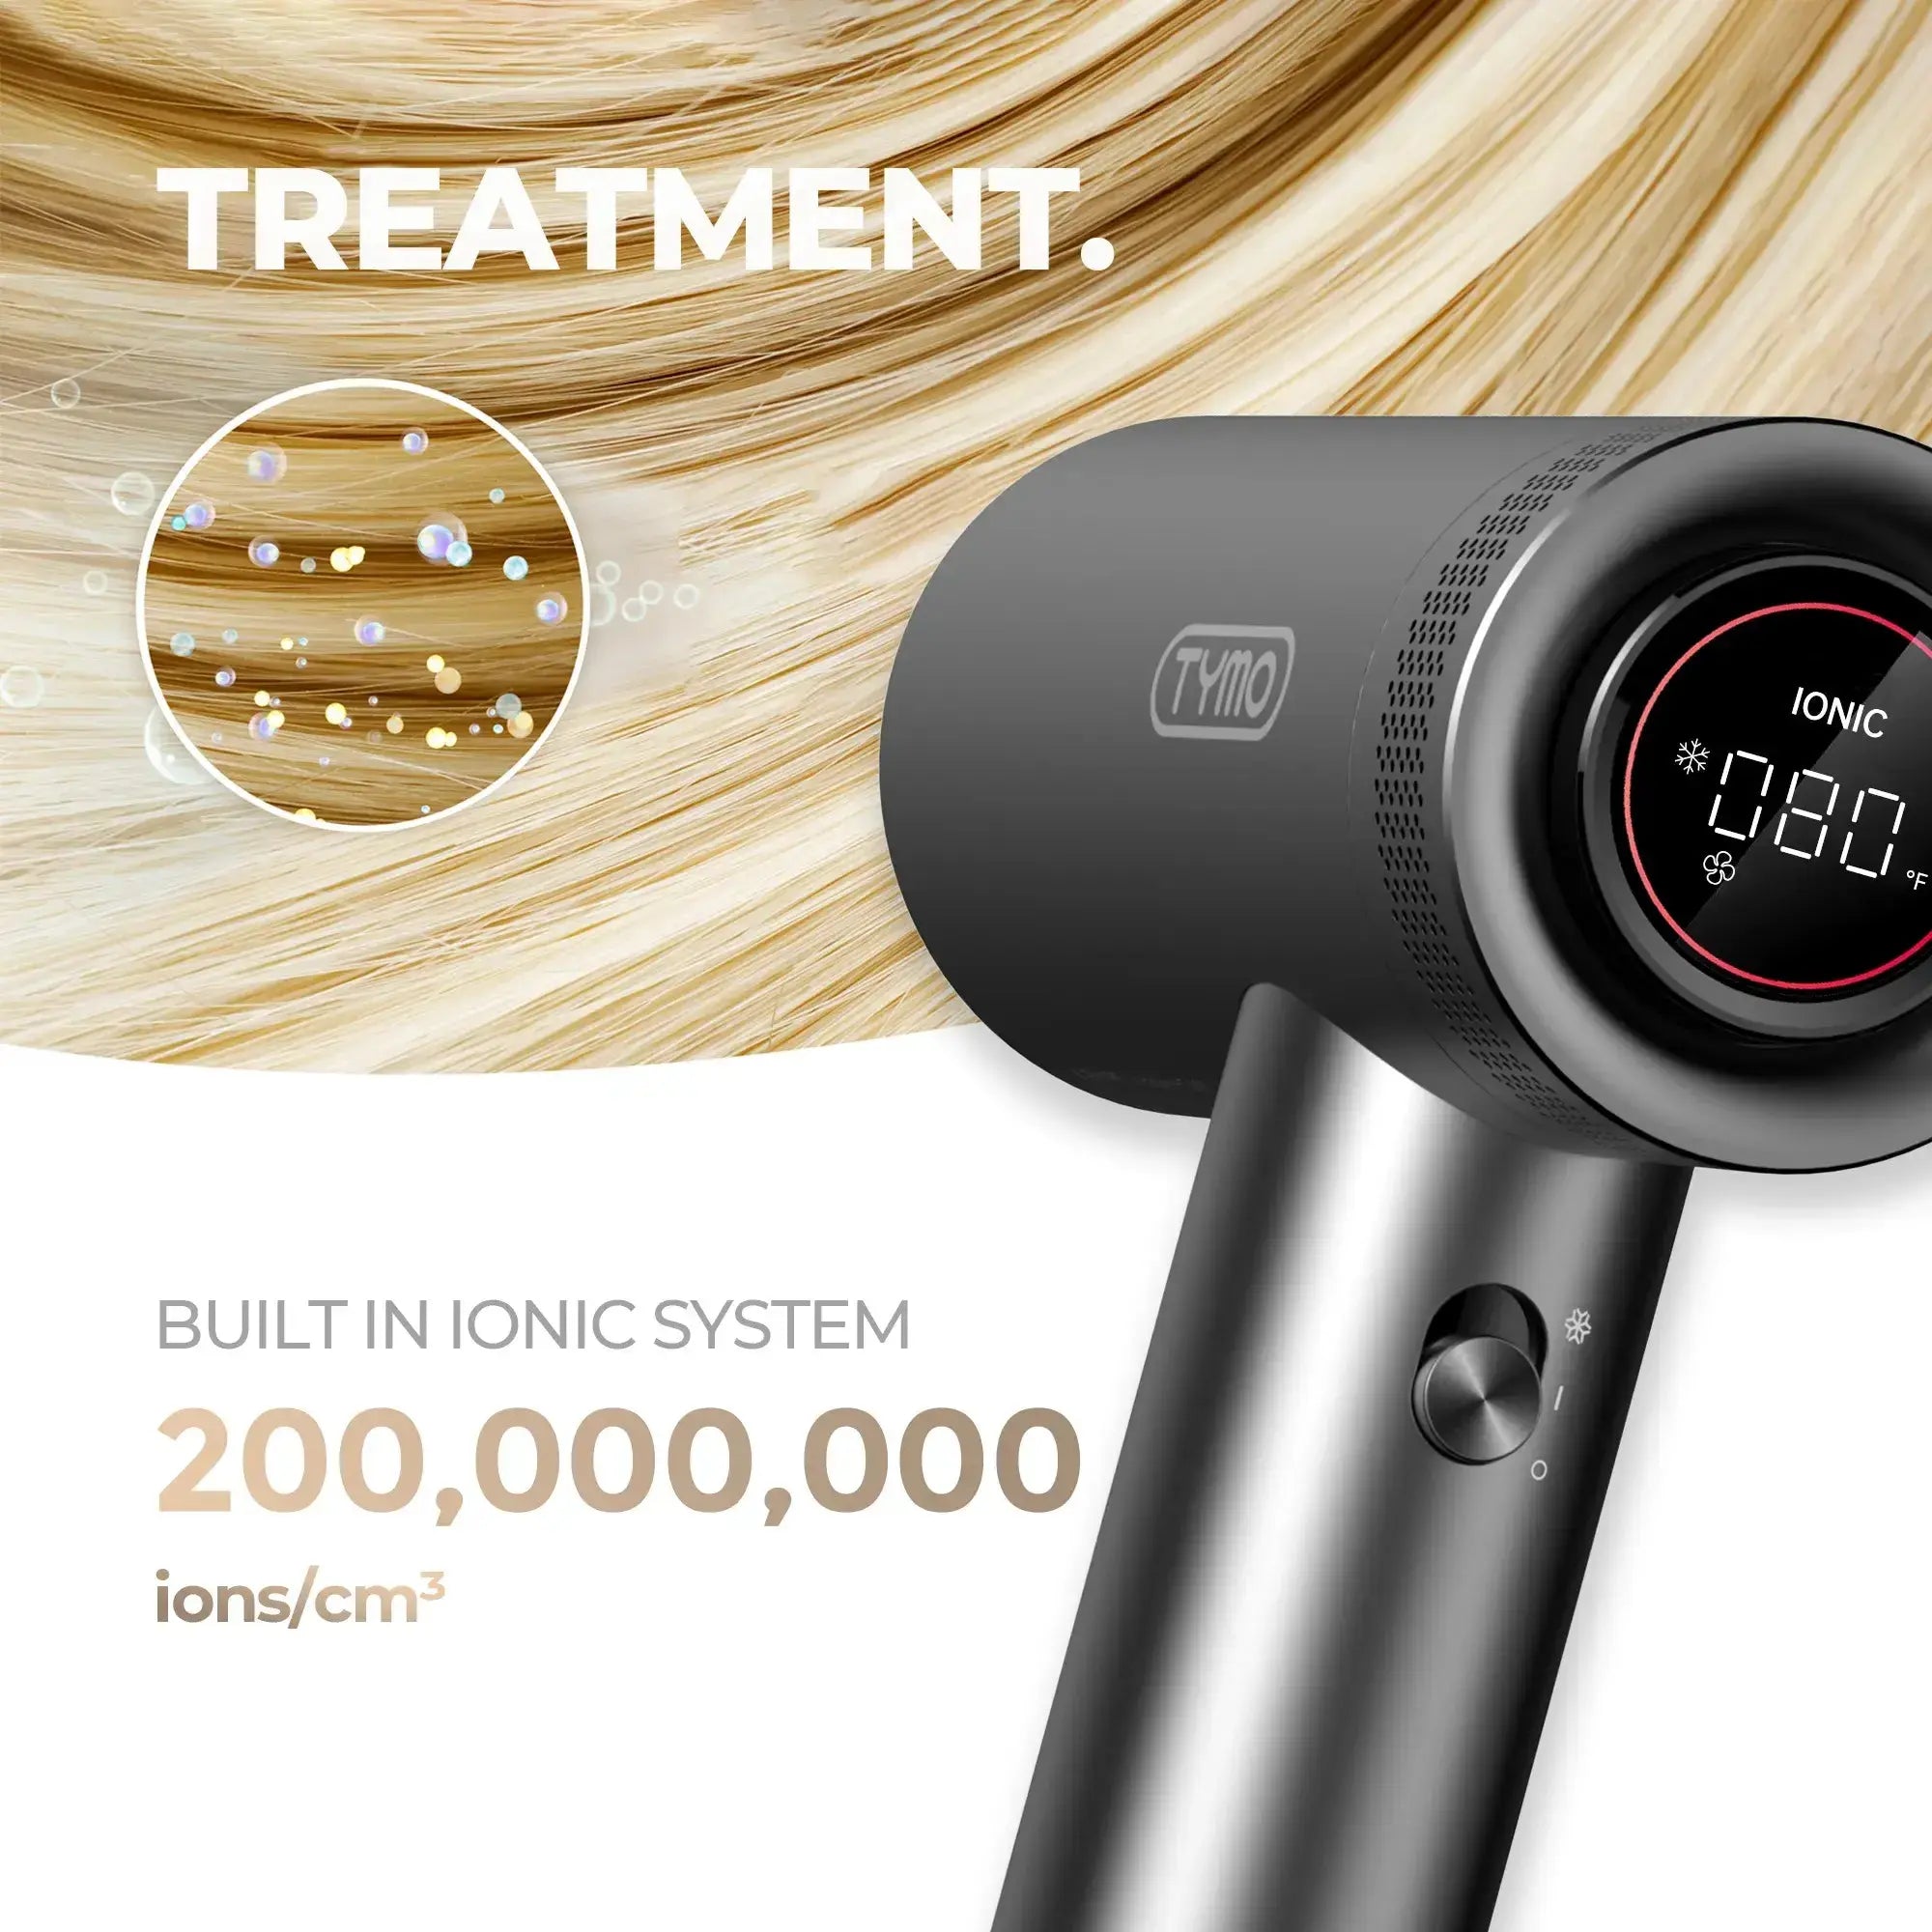
TYMO AIRHYPE, a dyson alternative hair dryer with diffuser and ionic system producing 200,000,000 ions/cm3.
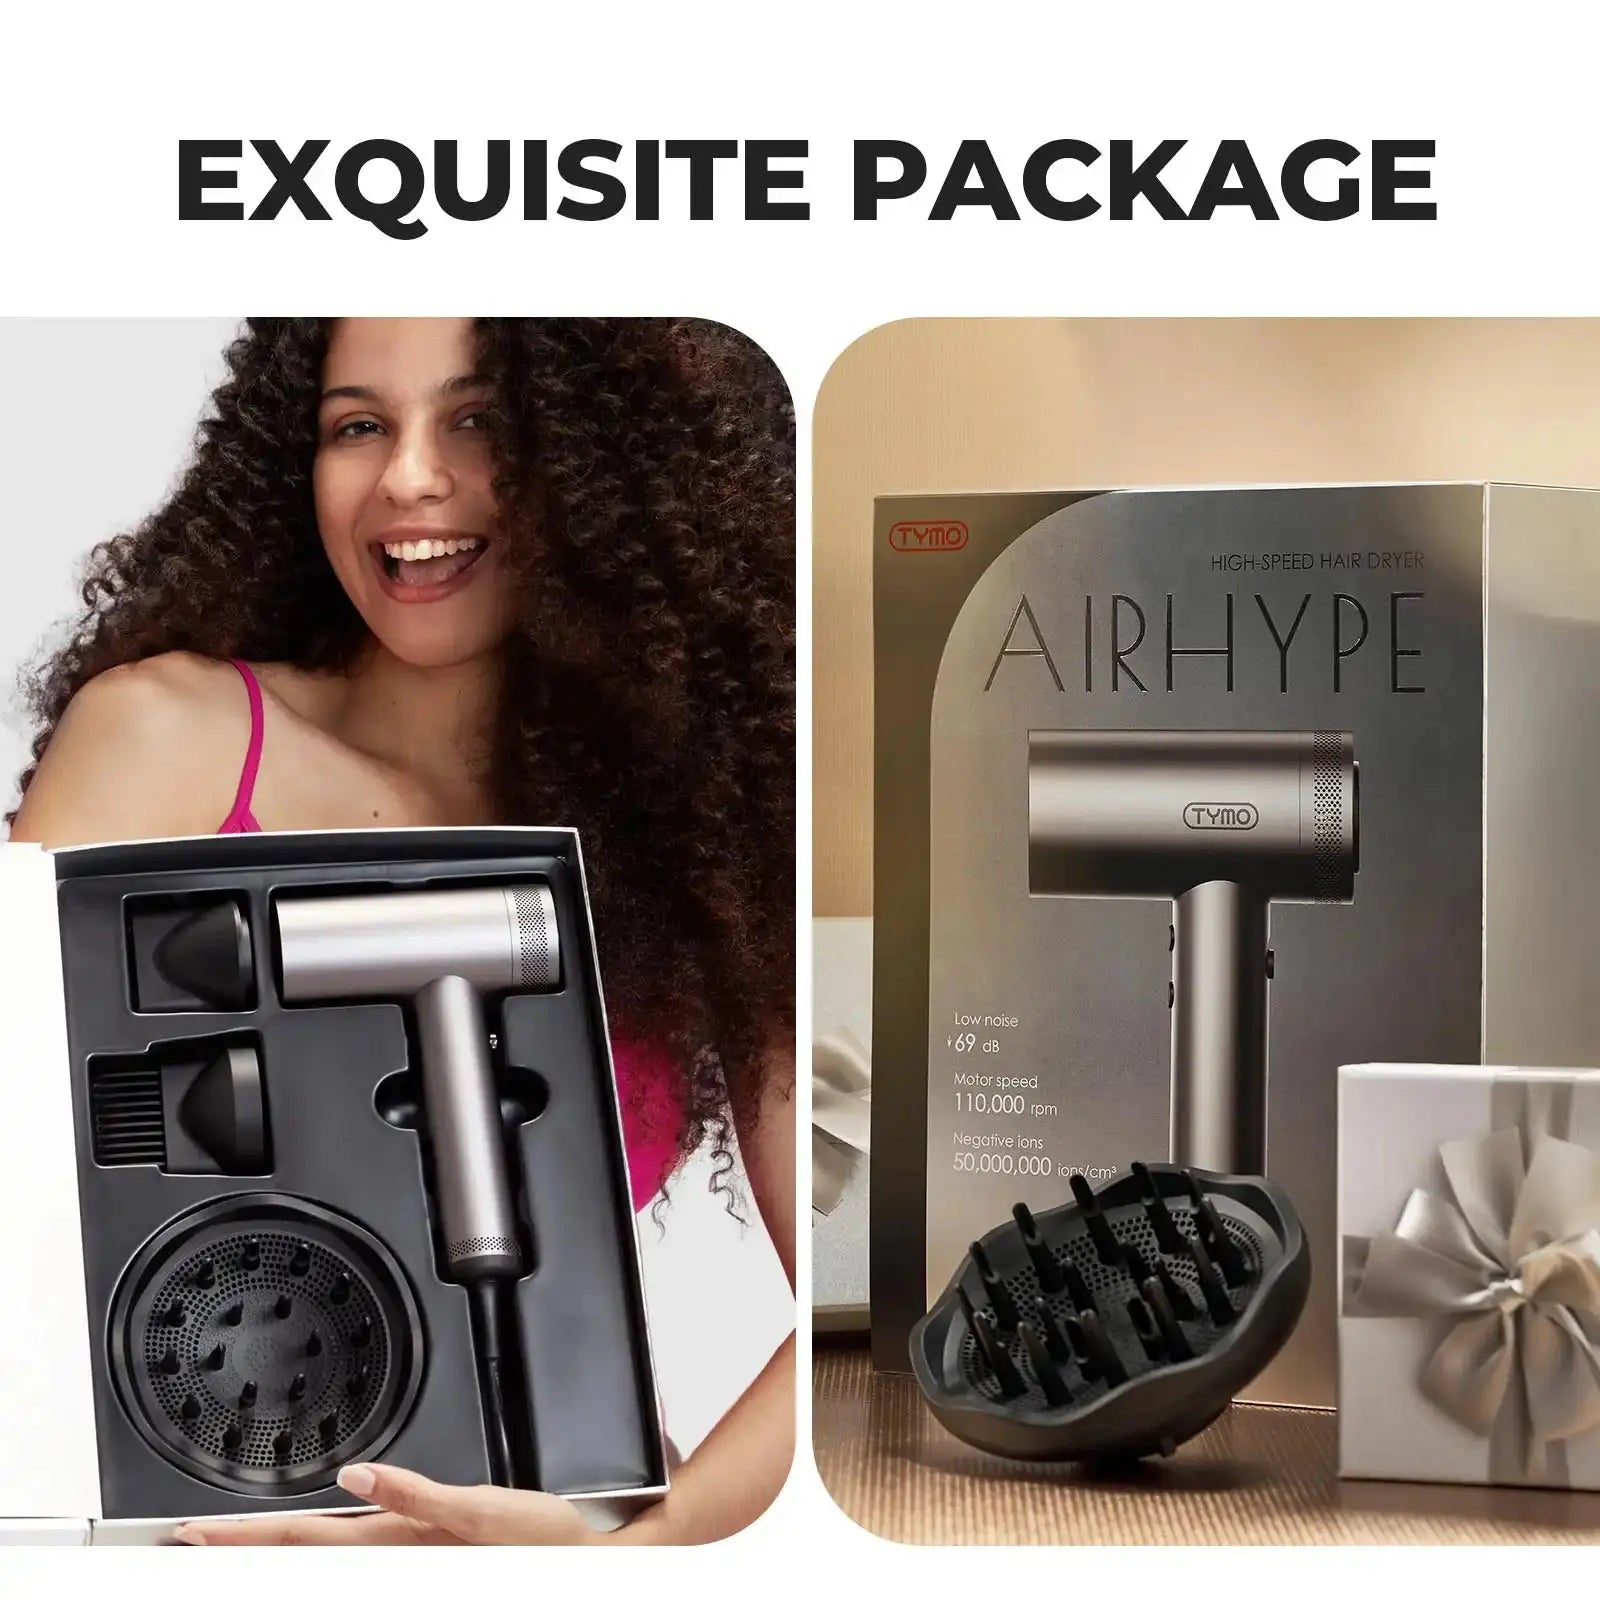
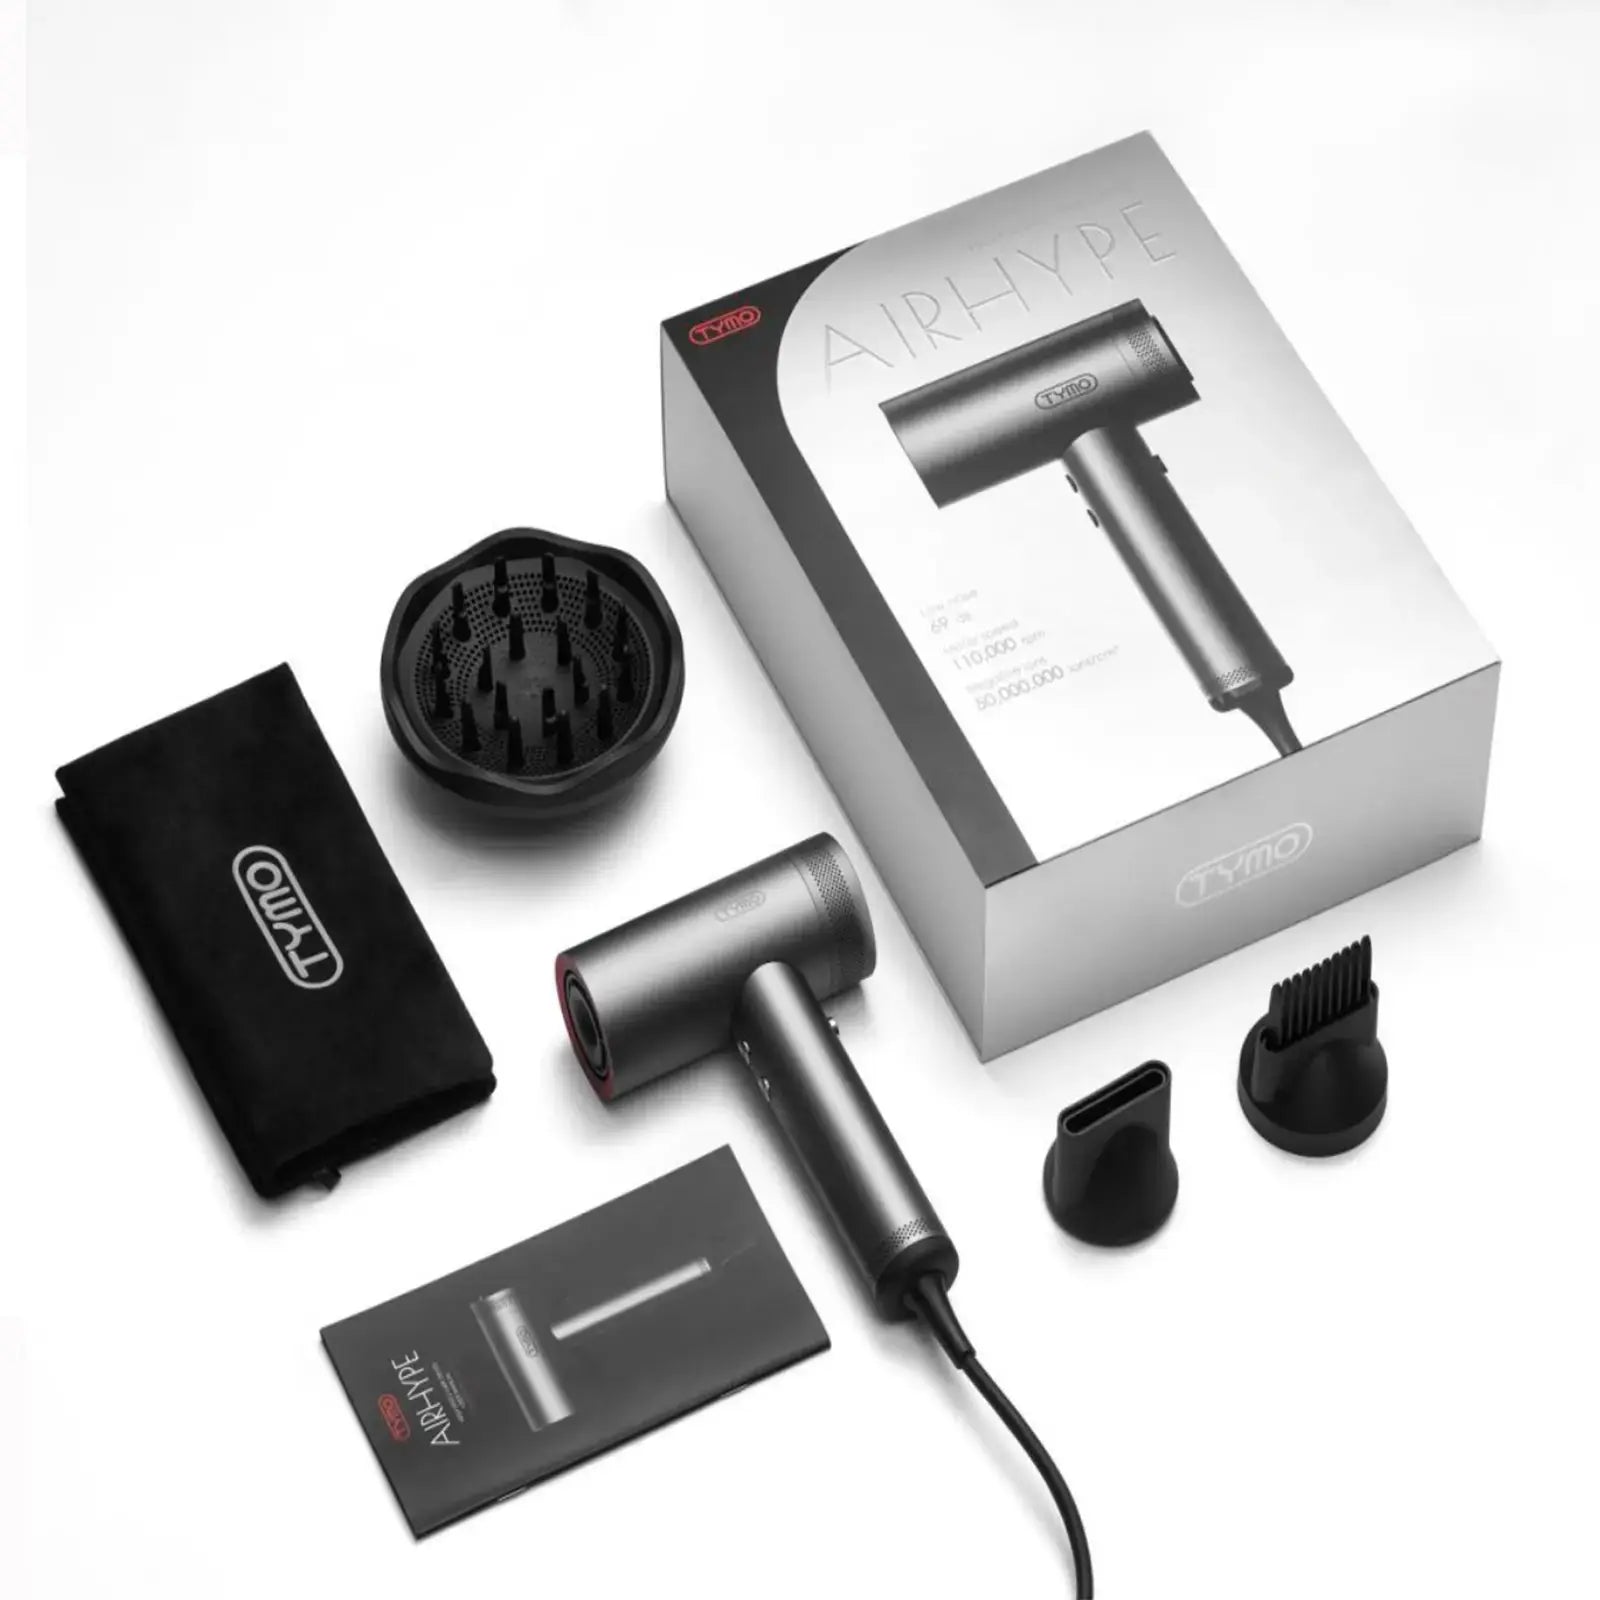
Professional TYMO AIRHYPE set, a dyson alternative hair dryer shown in elegant gift-ready packaging.
Compact TYMO AIRHYPE blow dryer kit, a dyson alternative hair dryer that’s a great choice for fine hair.

TYMO AIRHYPE

$199.99

BUY NOW