


BEAUTY
Cómo peinar un moño con trenza francesa sin esfuerzo en 5 minutos
By Anna Zack
Updated 12 AM EST Jan 20, 2026
TYMO
BEAUTY
How to Style an Effortless French Braid Bun in 5 Minutes
JANUARY
2026
A french braid bun is the go-to hairstyle for busy mornings, special events, or when you just want to look effortlessly polished. But let’s be real: mastering a french braid to a bun can be tricky, especially if your hair is slippery or hard to manage. This is where tools make a real difference. With the right prep and a few simple steps, you can create a flawless bun french braid that stays neat and stylish all day in just five minutes.


Why Try a French Braid Bun?
A french braid bun isn’t just stylish. It’s versatile.
- Works for office meetings, brunch dates, or weddings
- Keeps hair secure and frizz-free
- Adds a polished, elegant touch without looking overdone
The combination of a french bun braid with a slightly relaxed texture makes it both classic and modern. And when paired with proper styling tools, even beginners can achieve salon-quality results at home.
What You’ll Need
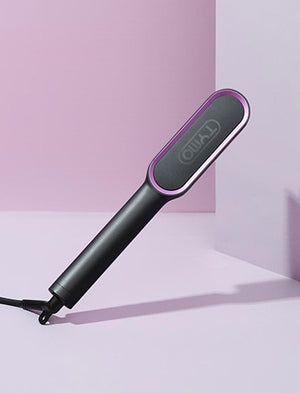
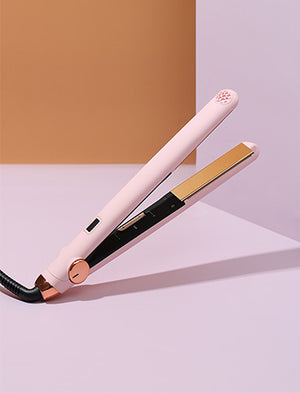
- TYMO CLAMGO styling iron (curls & straightens)
- Hairbrush
- Light texturizing spray
- Black elastic
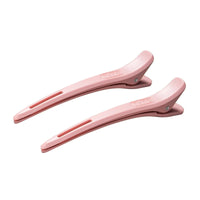
- Bobby pins
- Optional hairspray for hold
Pro Tip: The secret to a long-lasting french braid bun is texture. Smooth hair can make braiding tricky and the bun loose. Use TYMO CLAMGO to add soft waves or smooth flyaways — your braid will hold better and look polished.

Step-by-Step: French Braid to a Bun
Step 1: Prep Your Hair
Start with dry, fully brushed hair. Use TYMO CLAMGO to add light texture and grip — this helps prevent slipping and makes the braid much easier to control.
Finish with a light mist of texturizing spray for volume and long-lasting hold.
A good prep is the secret to a neat, full-looking french braid bun.
Step 2: Begin the French Braid
Take a top section of hair and divide it into three strands.
Start a classic French braid:
Cross the right strand over the middle
Cross the left strand over the middle
Add small sections from each side as you braid
Continue braiding down toward the nape of your neck, keeping the braid soft but structured. Secure with a clear elastic. This creates the foundation of your french braid bun.
Step 3: Twist into a Bun
Wrap the braided tail into a low bun at the nape of your neck.Secure with bobby pins, hiding the ends neatly underneath.
Gently pull a few face-framing strands for a soft, romantic finish.
Now your french braid bun is complete.
Step 4: Lock in Your Style
Finish with a light-hold hairspray.Thanks to the texture created by TYMO CLAMGO, your french braid bun will stay in place all day — no frizz, no slipping.
Perfect for weddings, dates, workdays, or any elegant occasion.
Why CLAMGO Make This Easy
TYMO CLAMGO isn’t just a styling iron. It’s your all-in-one tool for effortless beauty:
- Curls or straightens hair in one step
- Portable, perfect for home or travel
- Quick 5-minute styling solution
- Creates texture for easier braiding
- Smooths frizz and adds shine
With TYMO, you’re not only saving time — you’re upgrading your french bun braid game to a professional level.


Pro Tips for a Long-Lasting French Braid Bun
1. Add texture first — waves help your braid grip.
2. Keep it slightly loose — adds elegance and a natural feel.
3. Pin strategically — focus on the bun’s base for stability.
4. Finish lightly — soft hairspray locks it without stiffness.
5. Face-framing strands — pull a few pieces to soften the look.
What Our Customers Say

On the go is awesome! My hair is semi thick and it works for touch ups. It gets pretty hot. I have bangs that I have to constantly fix. Easy to use and straightens hair on the go! 🥰
Amelia Vee

I wanted to love this flat iron! It locks in the closed position.Its compact size is perfect for travel.Feels and looks to be of good quality.It’s cordless and very easy to use.
E.V.

Impressed by this flat iron! What I like about this. It's a straightener, but it's curved also, so I can put a slight curl on the bottom of my hair if I choose (and I do).
Bok

Especially great at adding volume to roots and curling hair ends. Much more natural looking than those jagged straighteners, which creates unnatural creases in the hair.